...
IMS Global | Open edX |
|---|---|
If testing on devstack:
| |
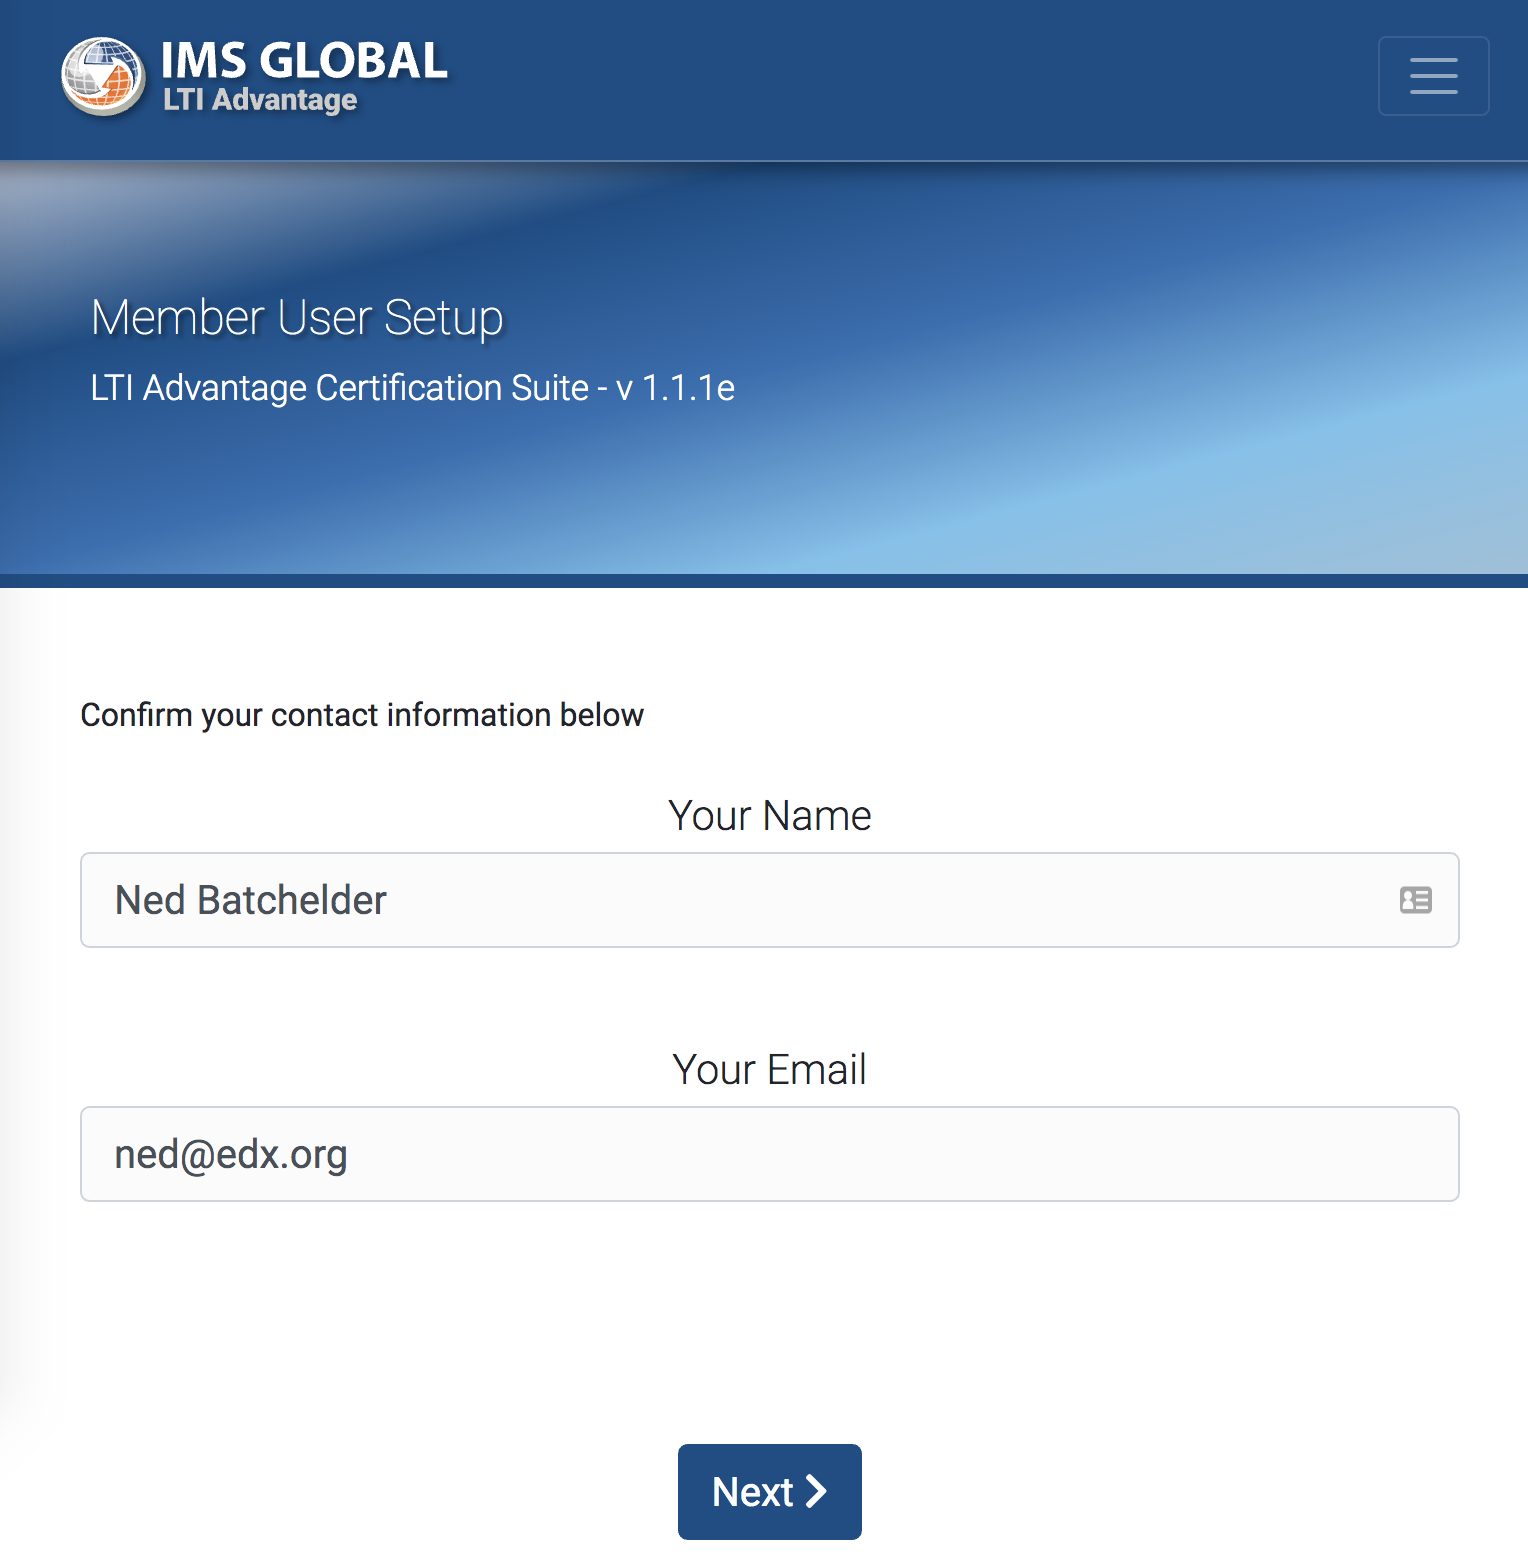
Start here: https://ltiadvantagevalidator.imsglobal.org/ltiadv/certification.html | |
 | |
 | |
 | |
 | Make an LTI component in Studio, using the values from the IMS page.
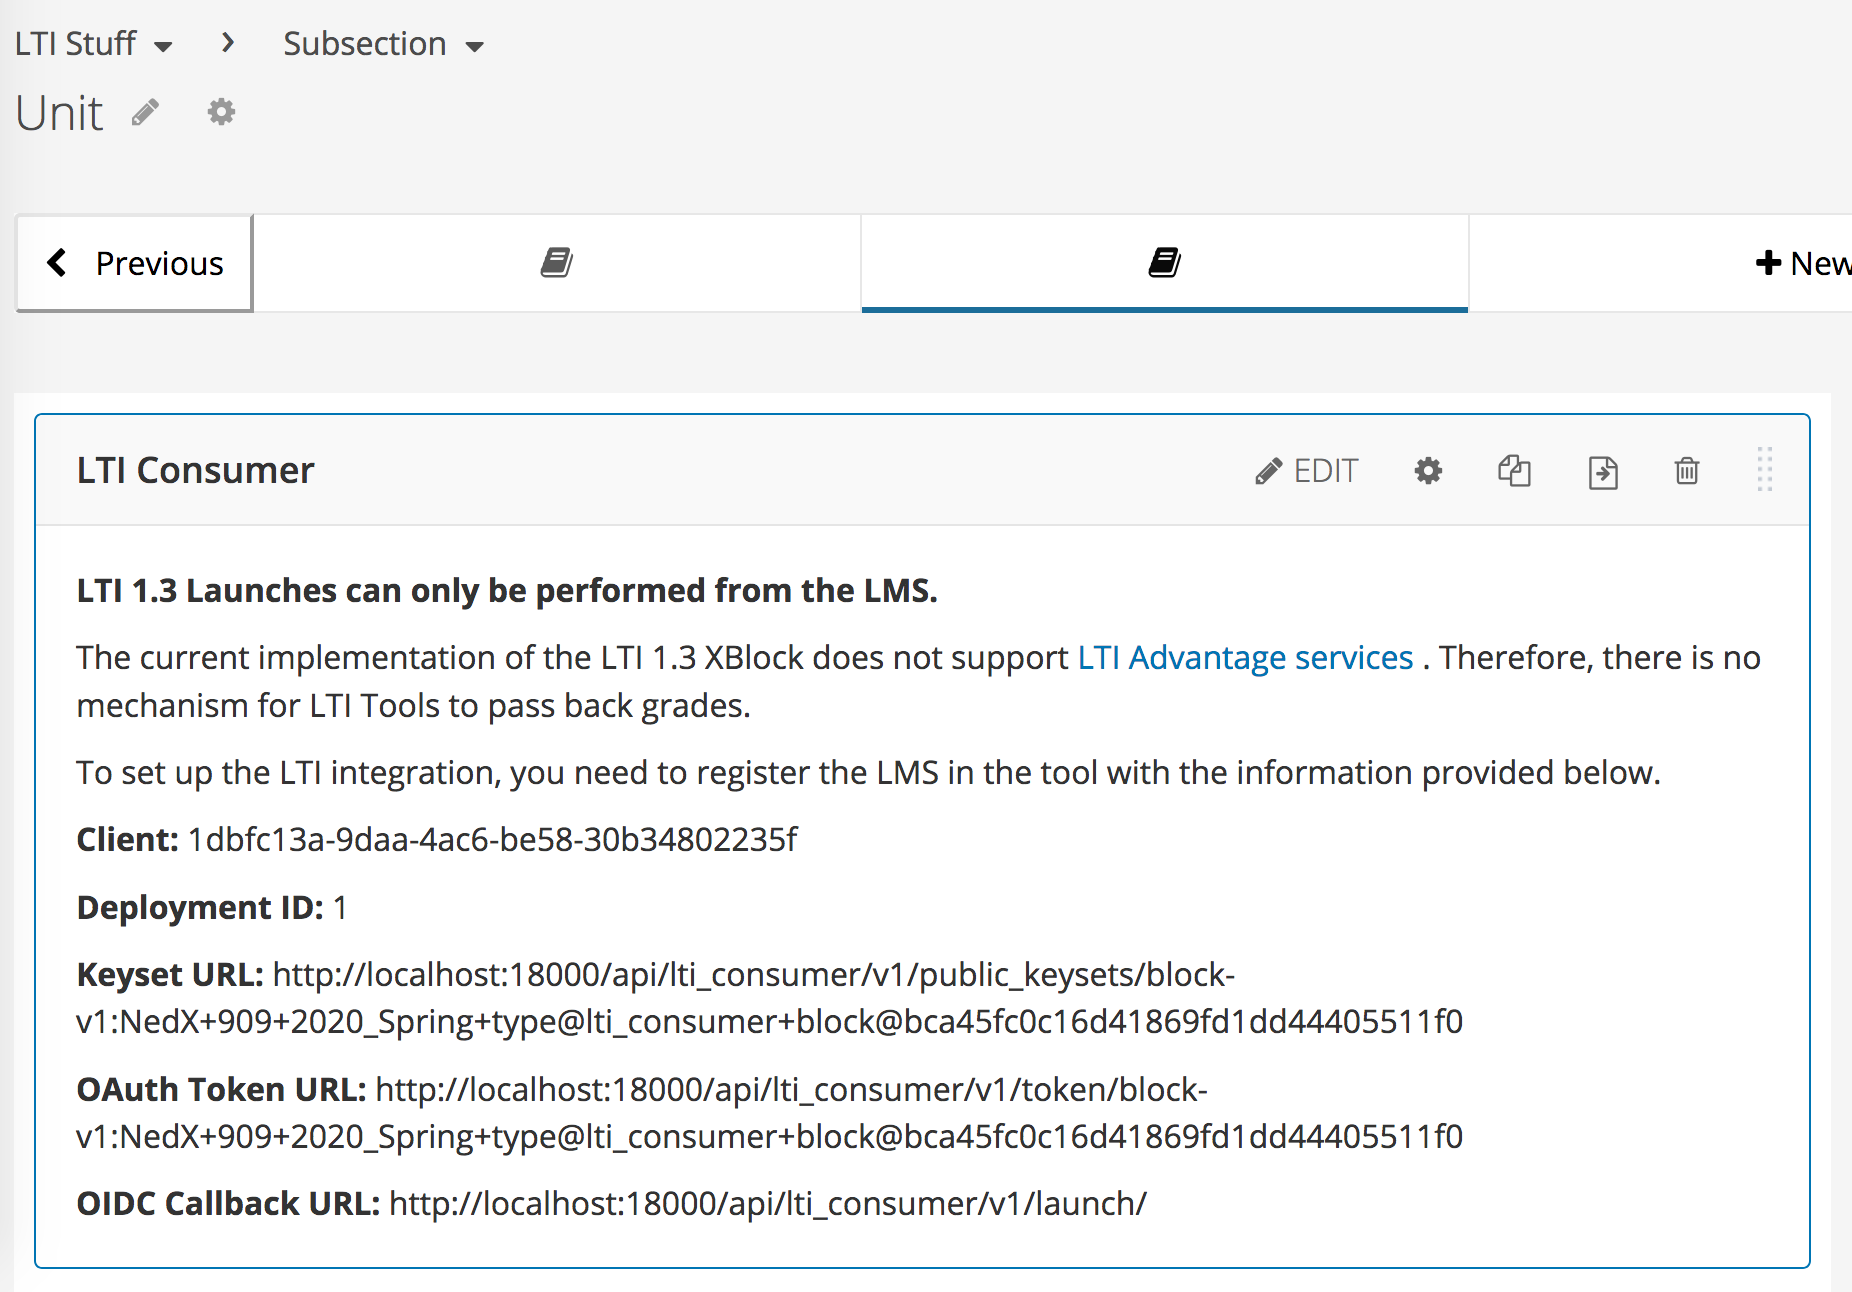 |
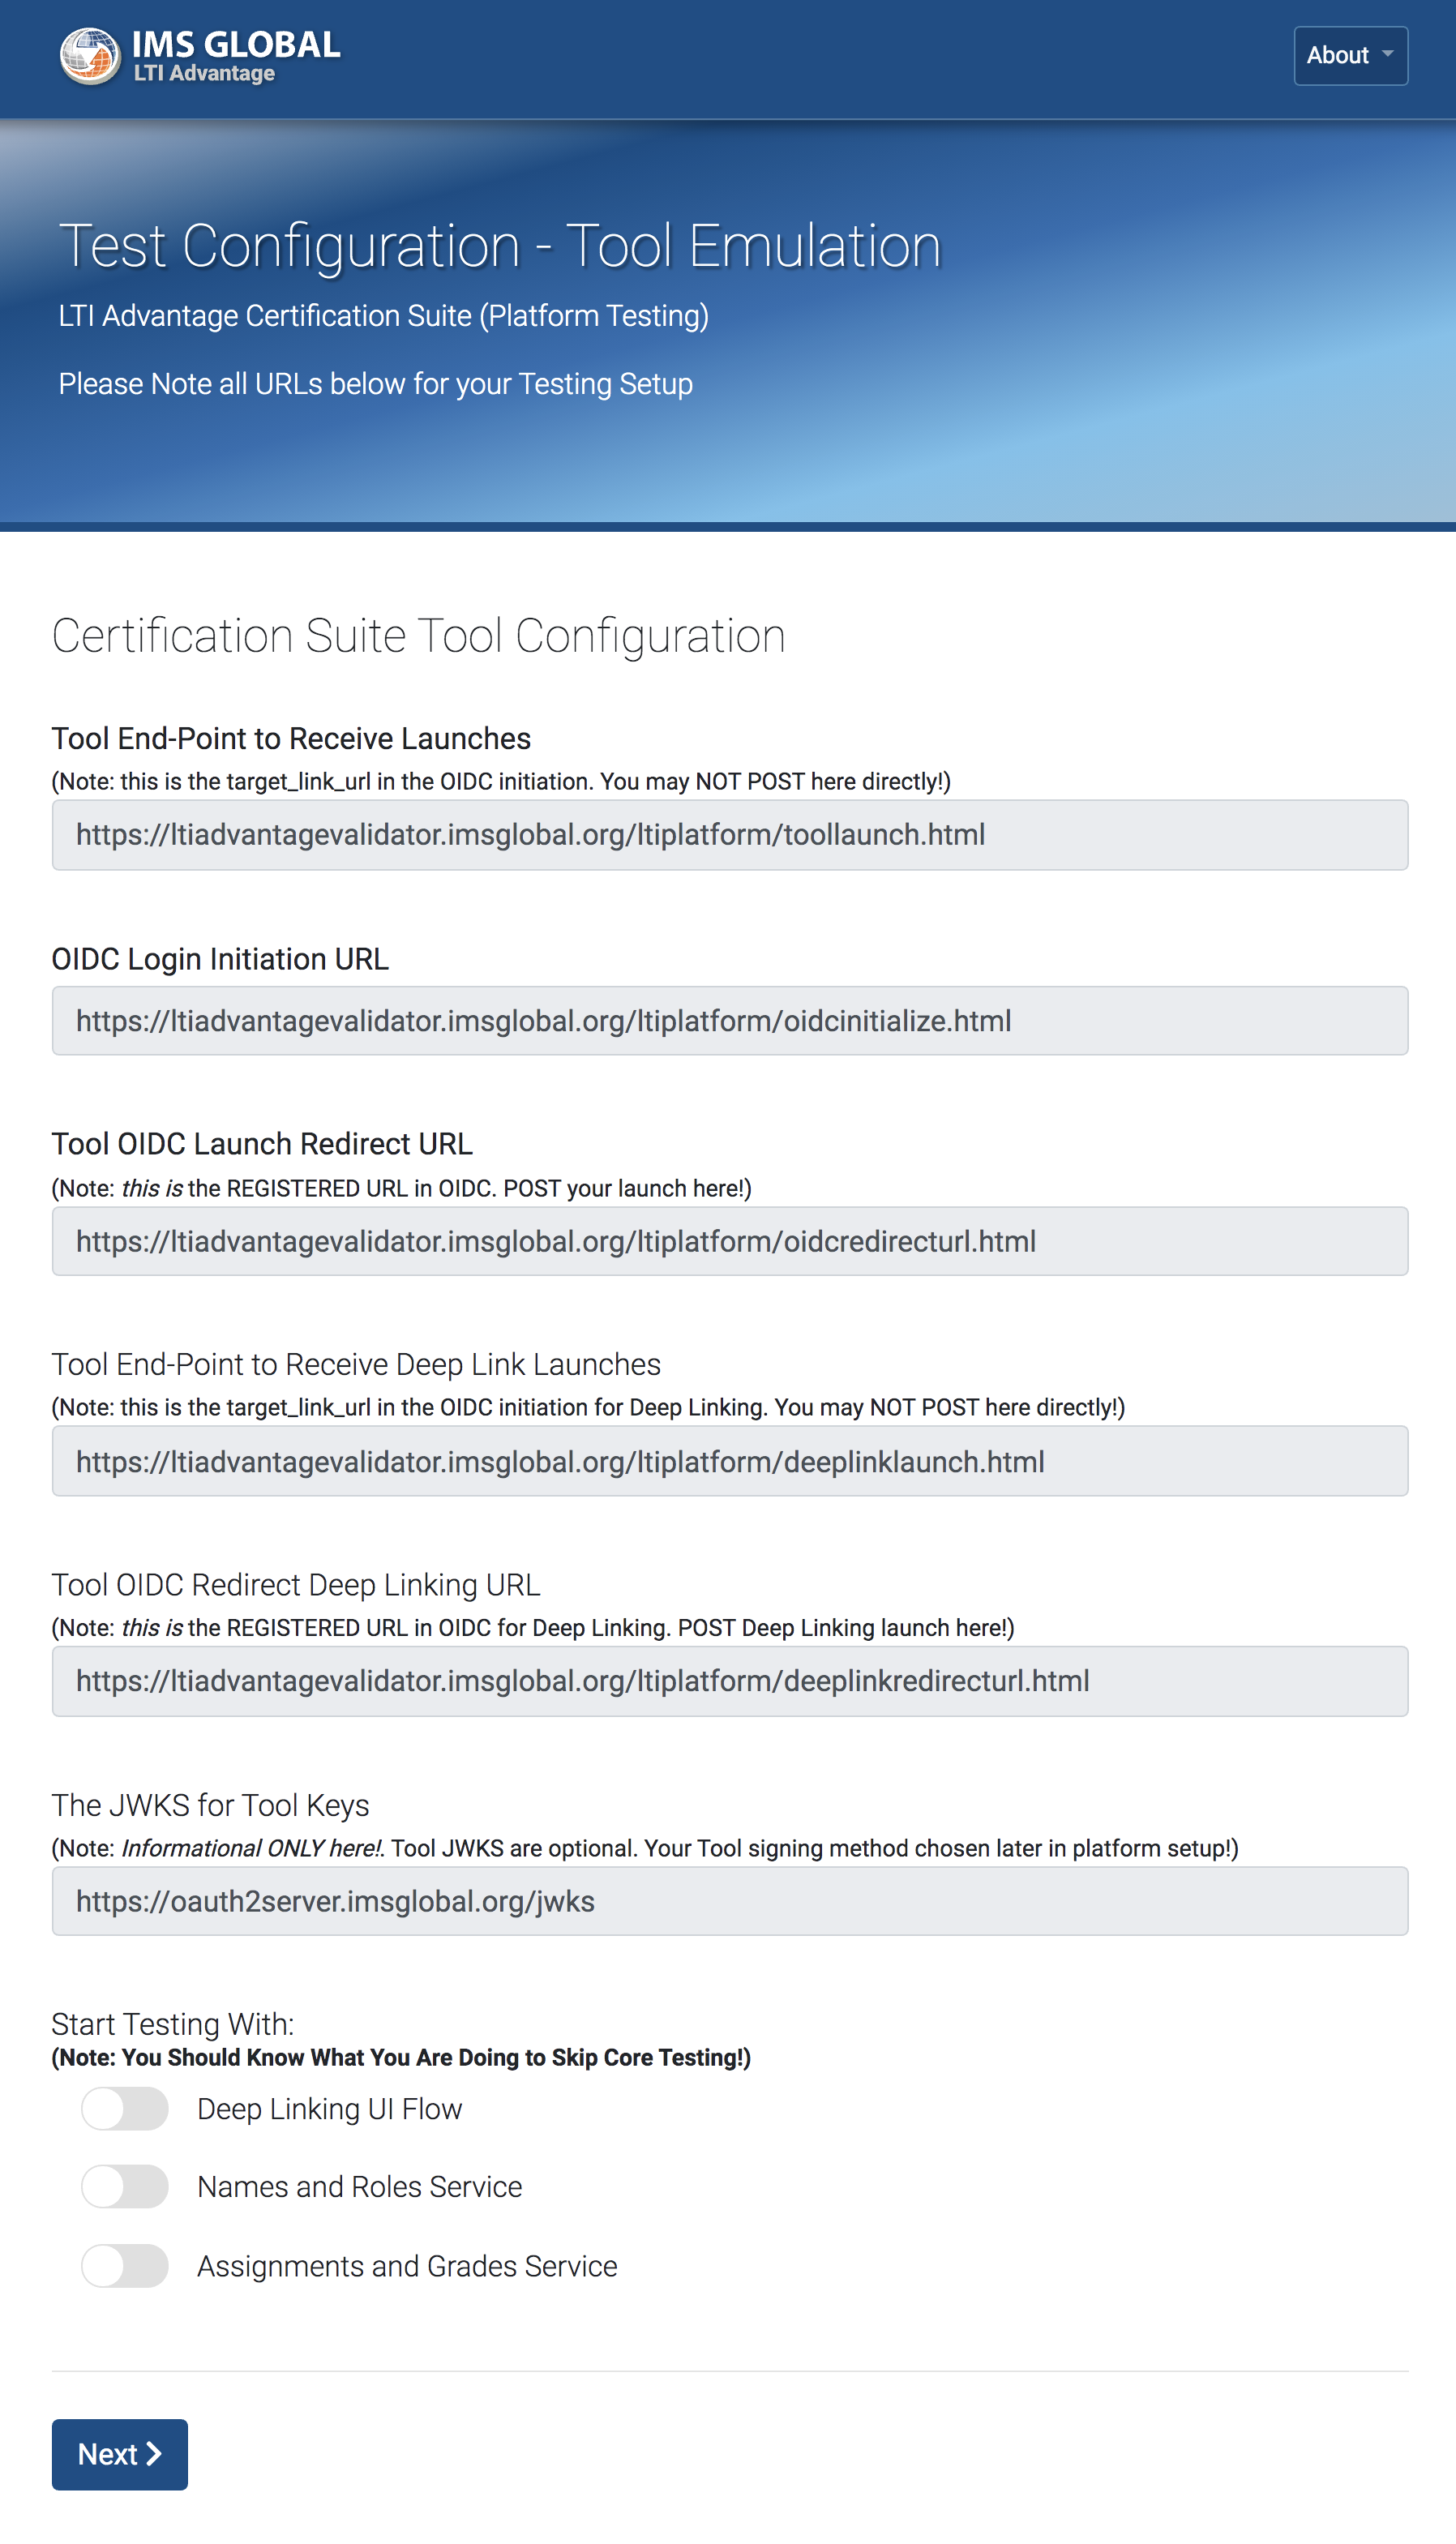
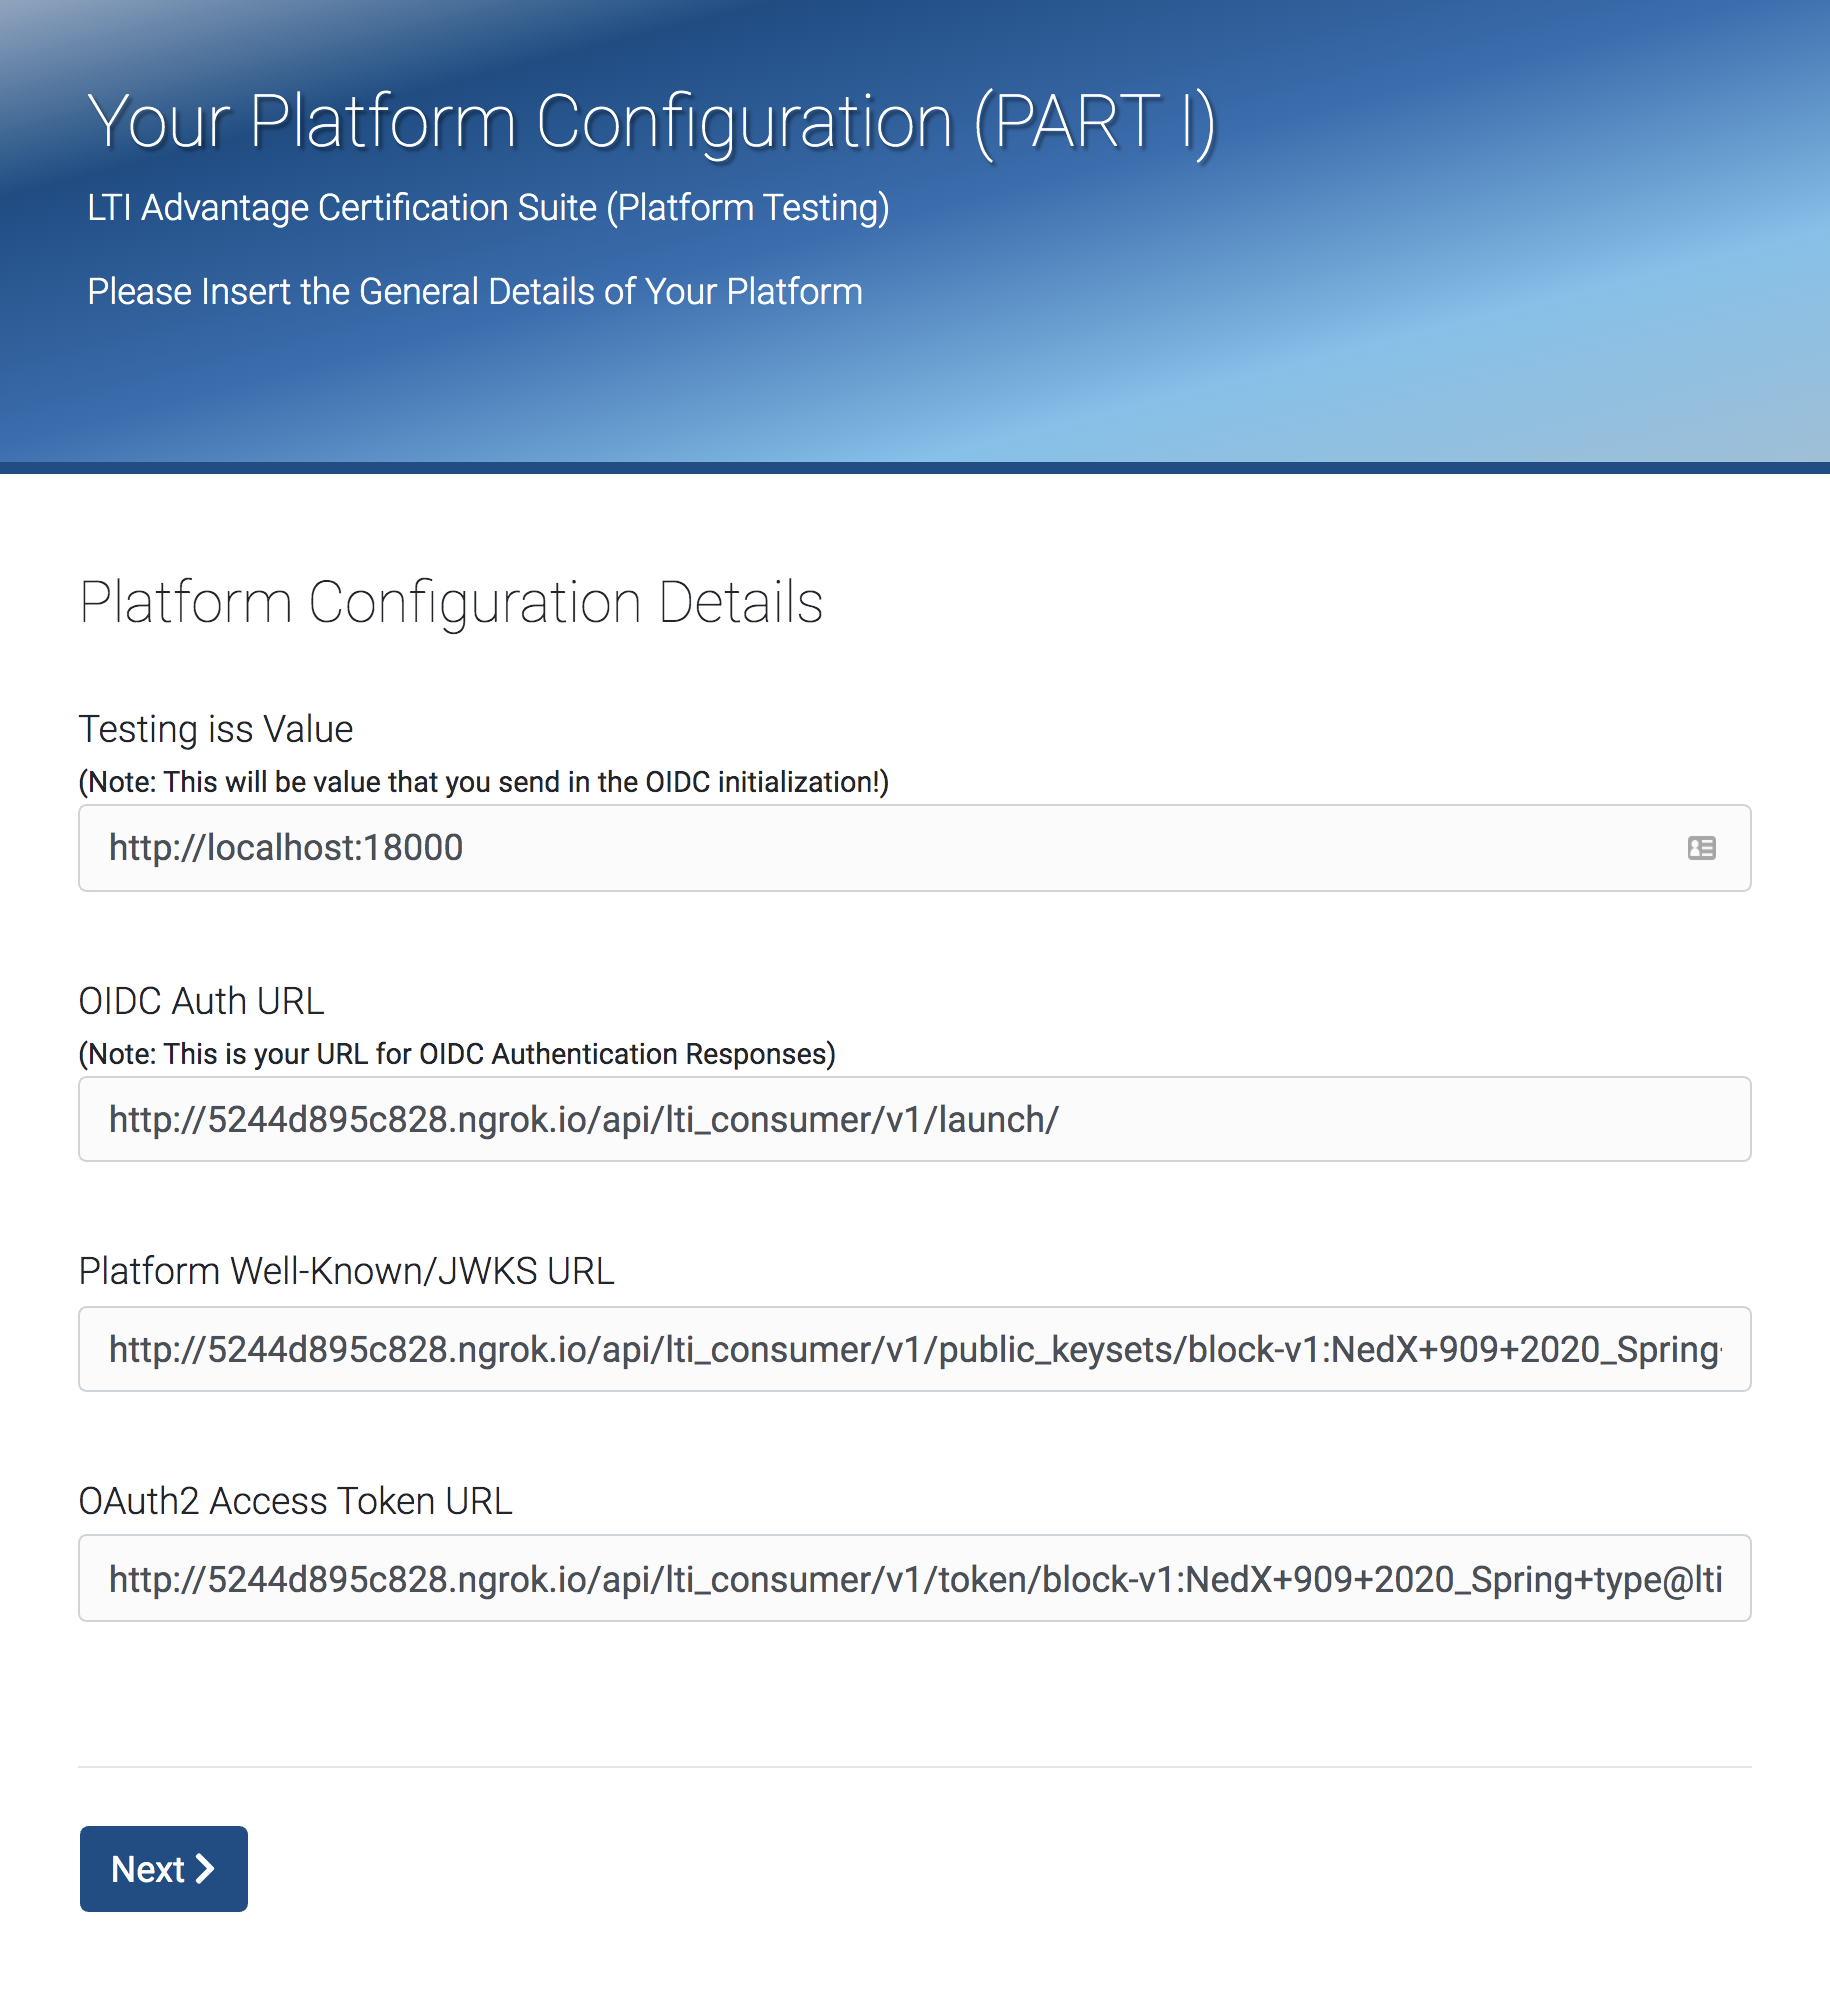
Copy values from the info displayed in Studio to the IMS form. Make sure the hostnames are correct for your ngrok configuration, you may need to edit them. The input fields are short for our long URLs, make sure the full URL is pasted in each.
 | |
More configuration:
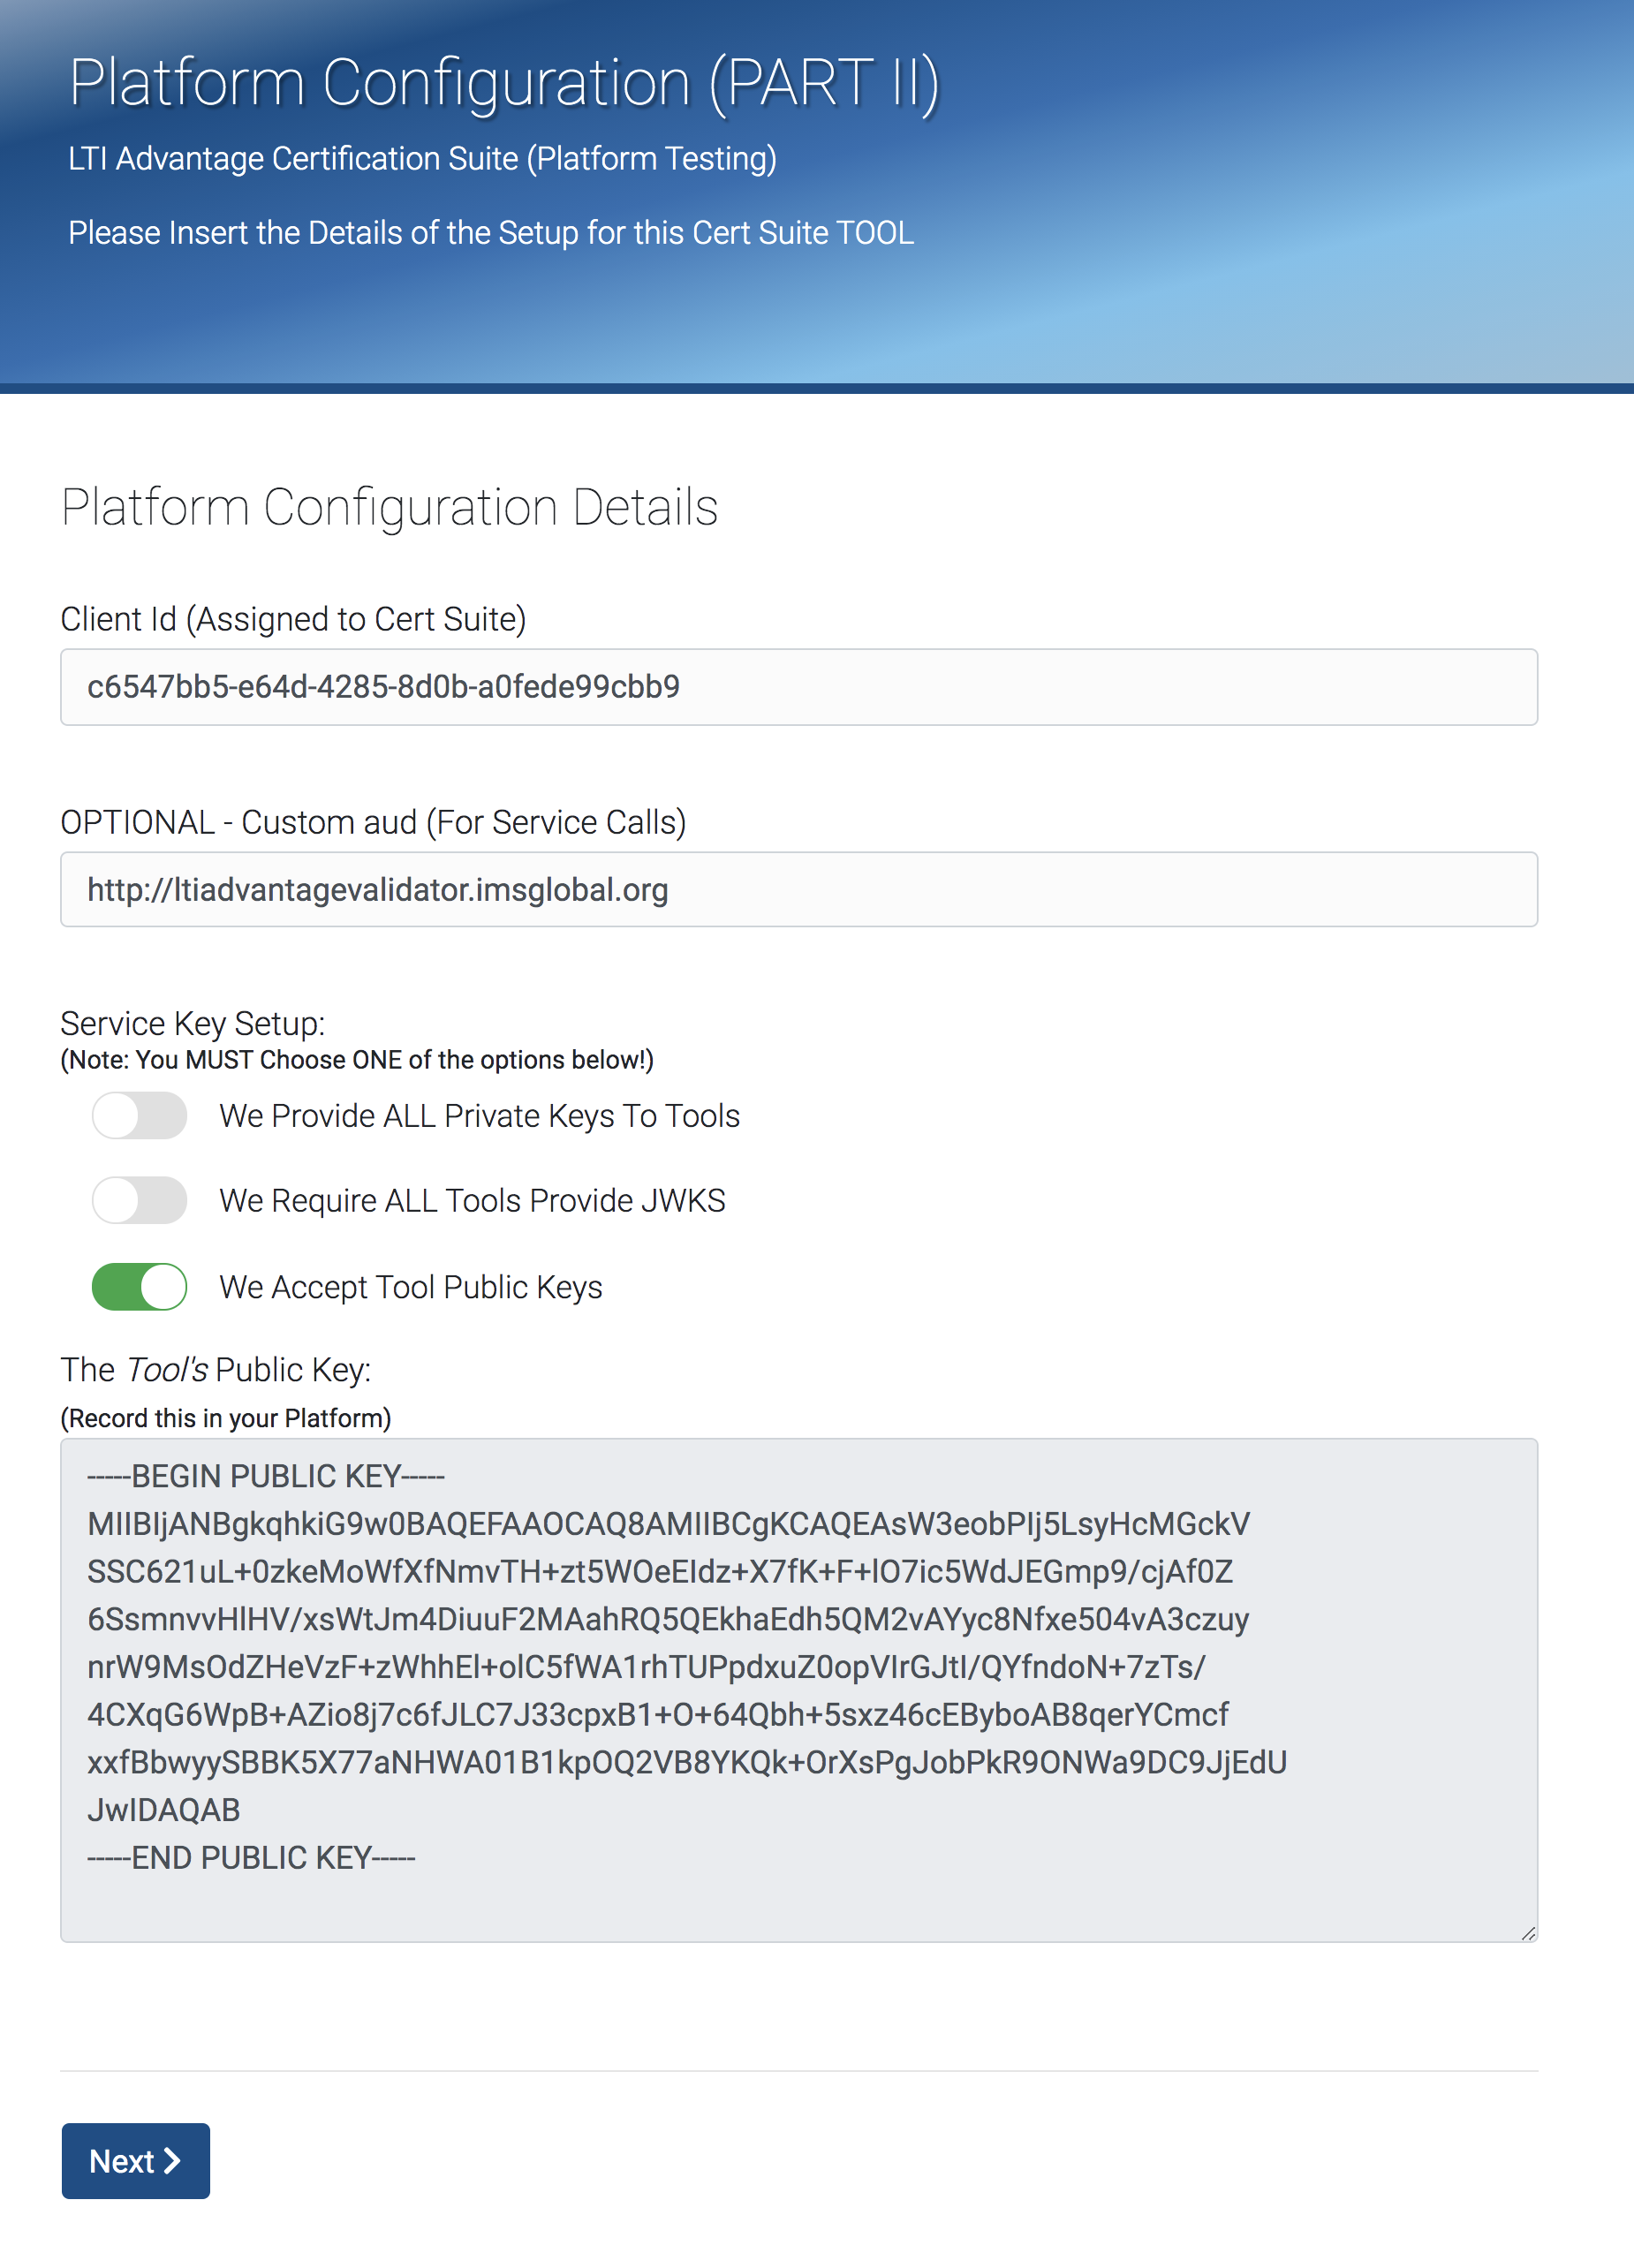 | Edit the LTI component again. Copy “The Tool’s Public Key” from IMS and paste it in LTI 1.3 Tool Public Key  Save the component. 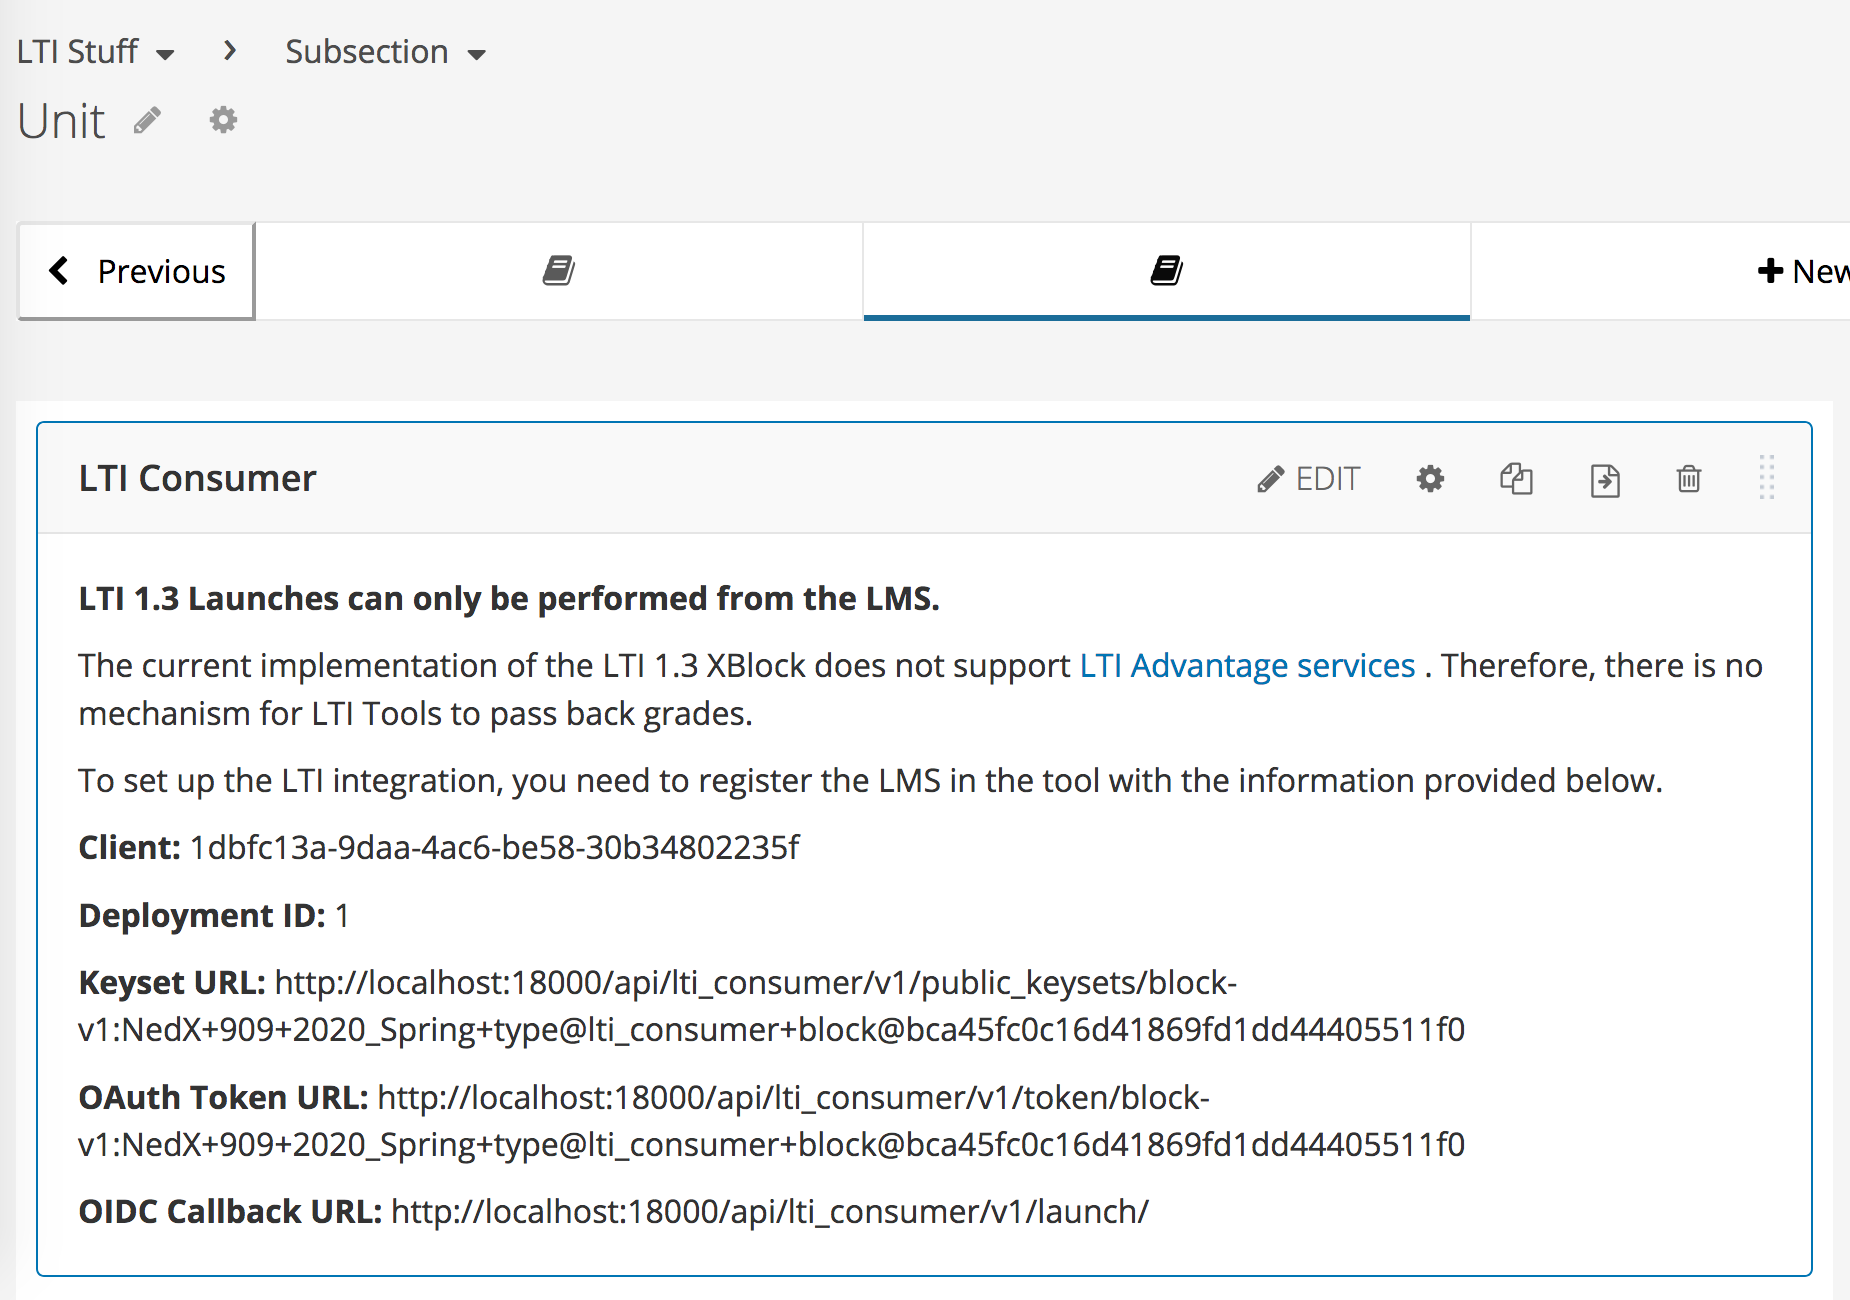 |
Enter the Deployment ID from the Studio display. (It’s always “1”): 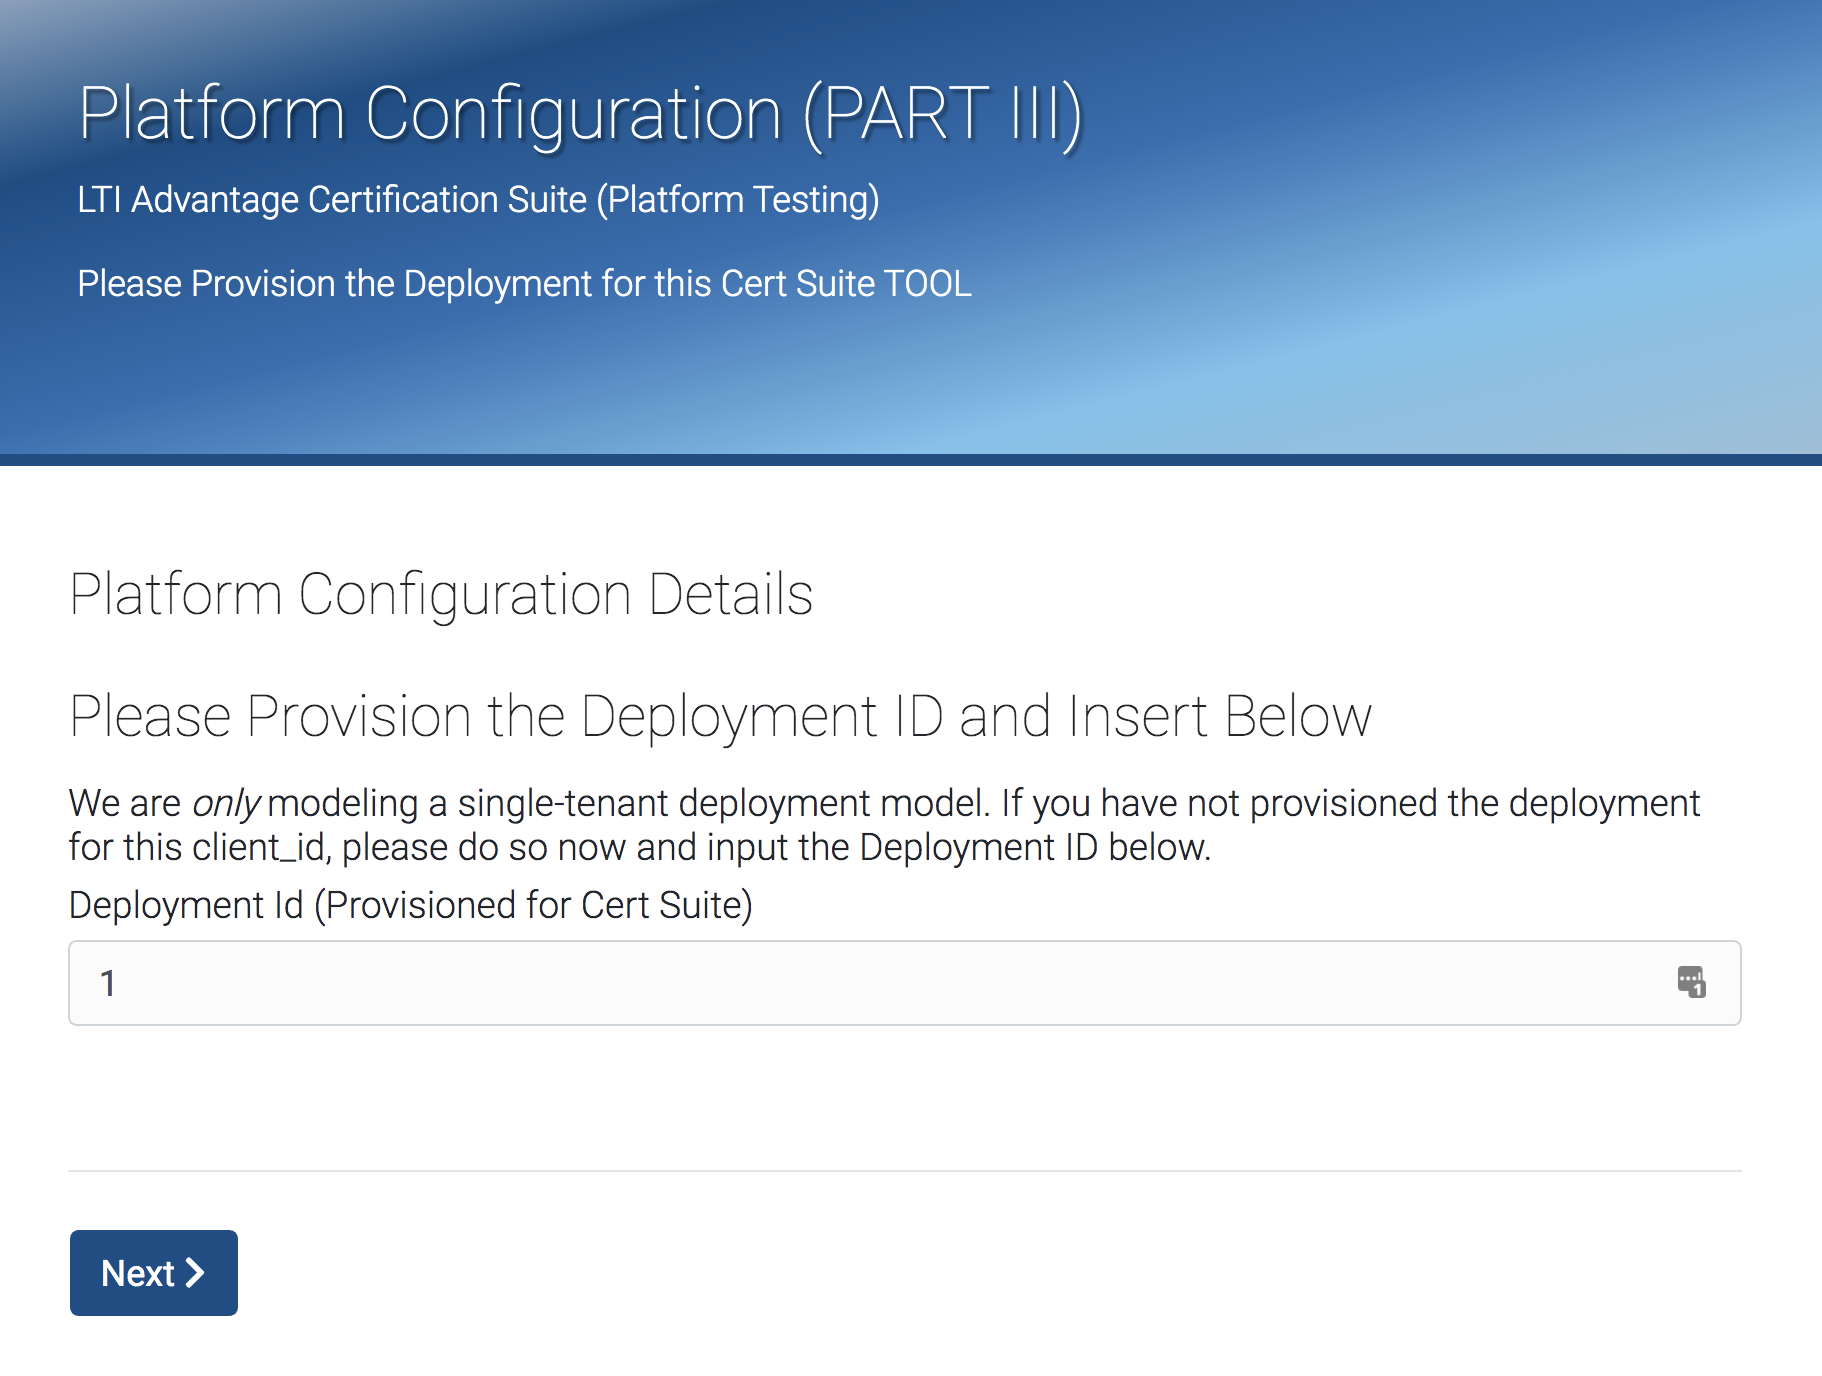 | |
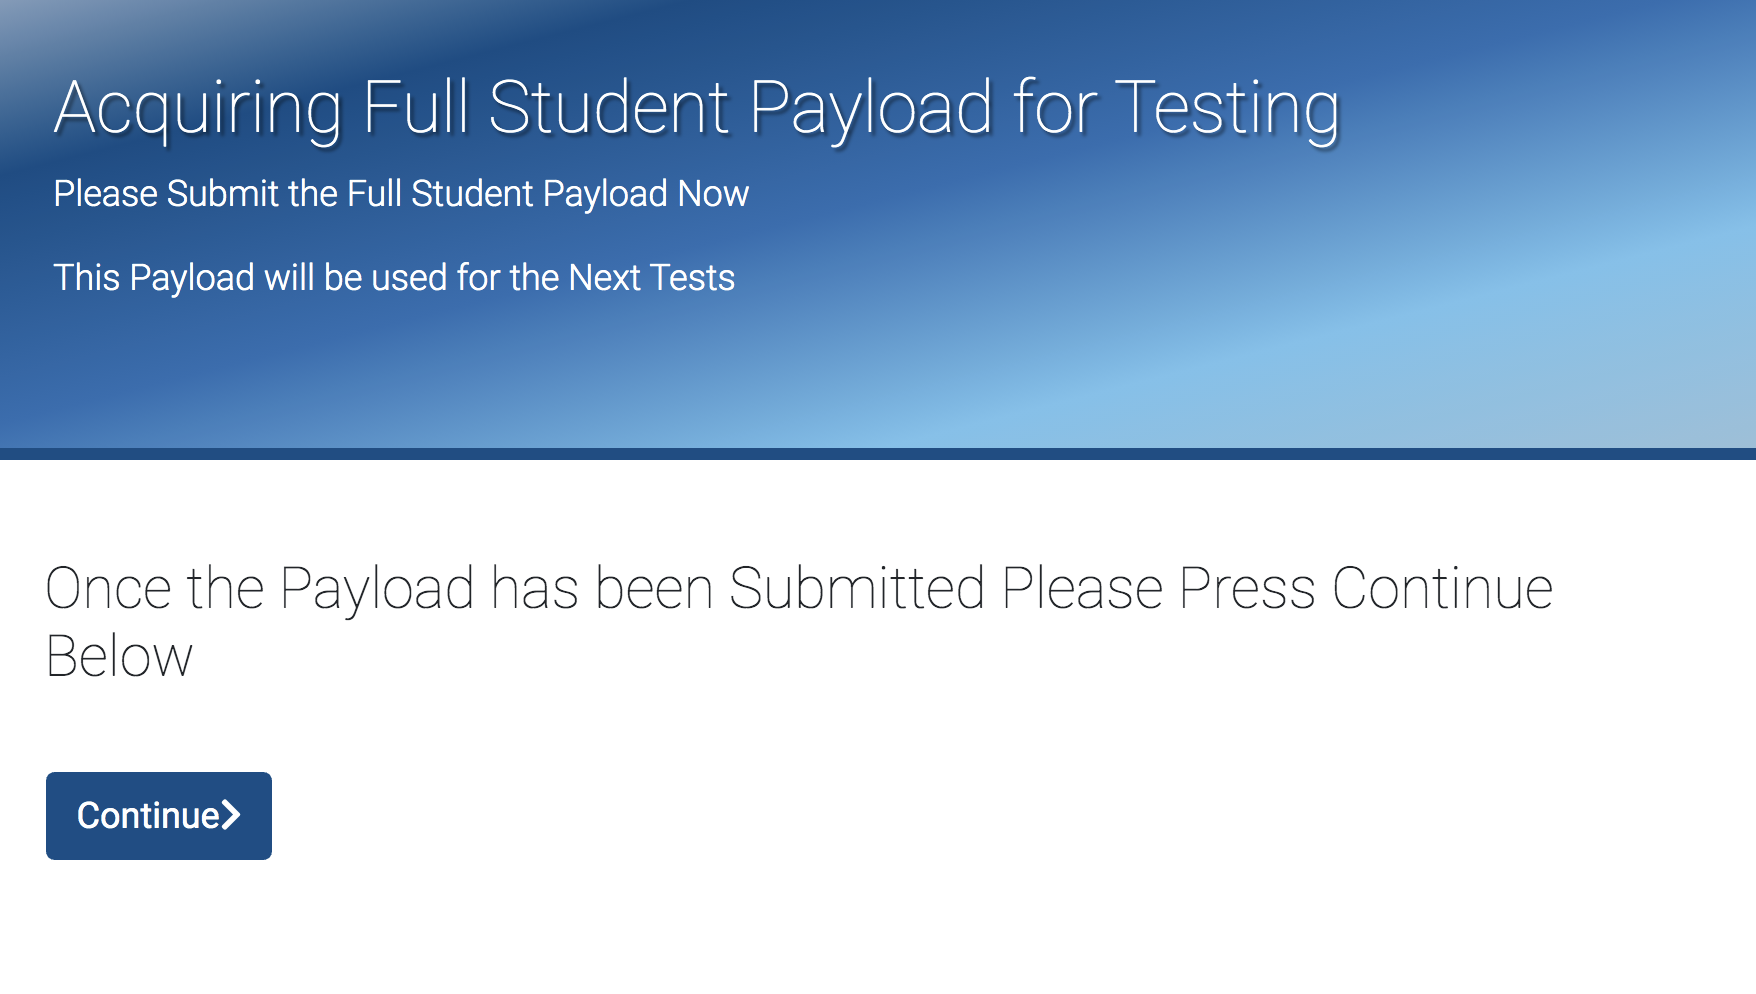 | Publish the whole course. View Live Version to open the LTI component in the LMS. Be sure you are logged - in to the ngrok host name as a student (verified@example.com), and launch the component under that host name. The LMS will display:
Click “Continue” in the IMS window. |
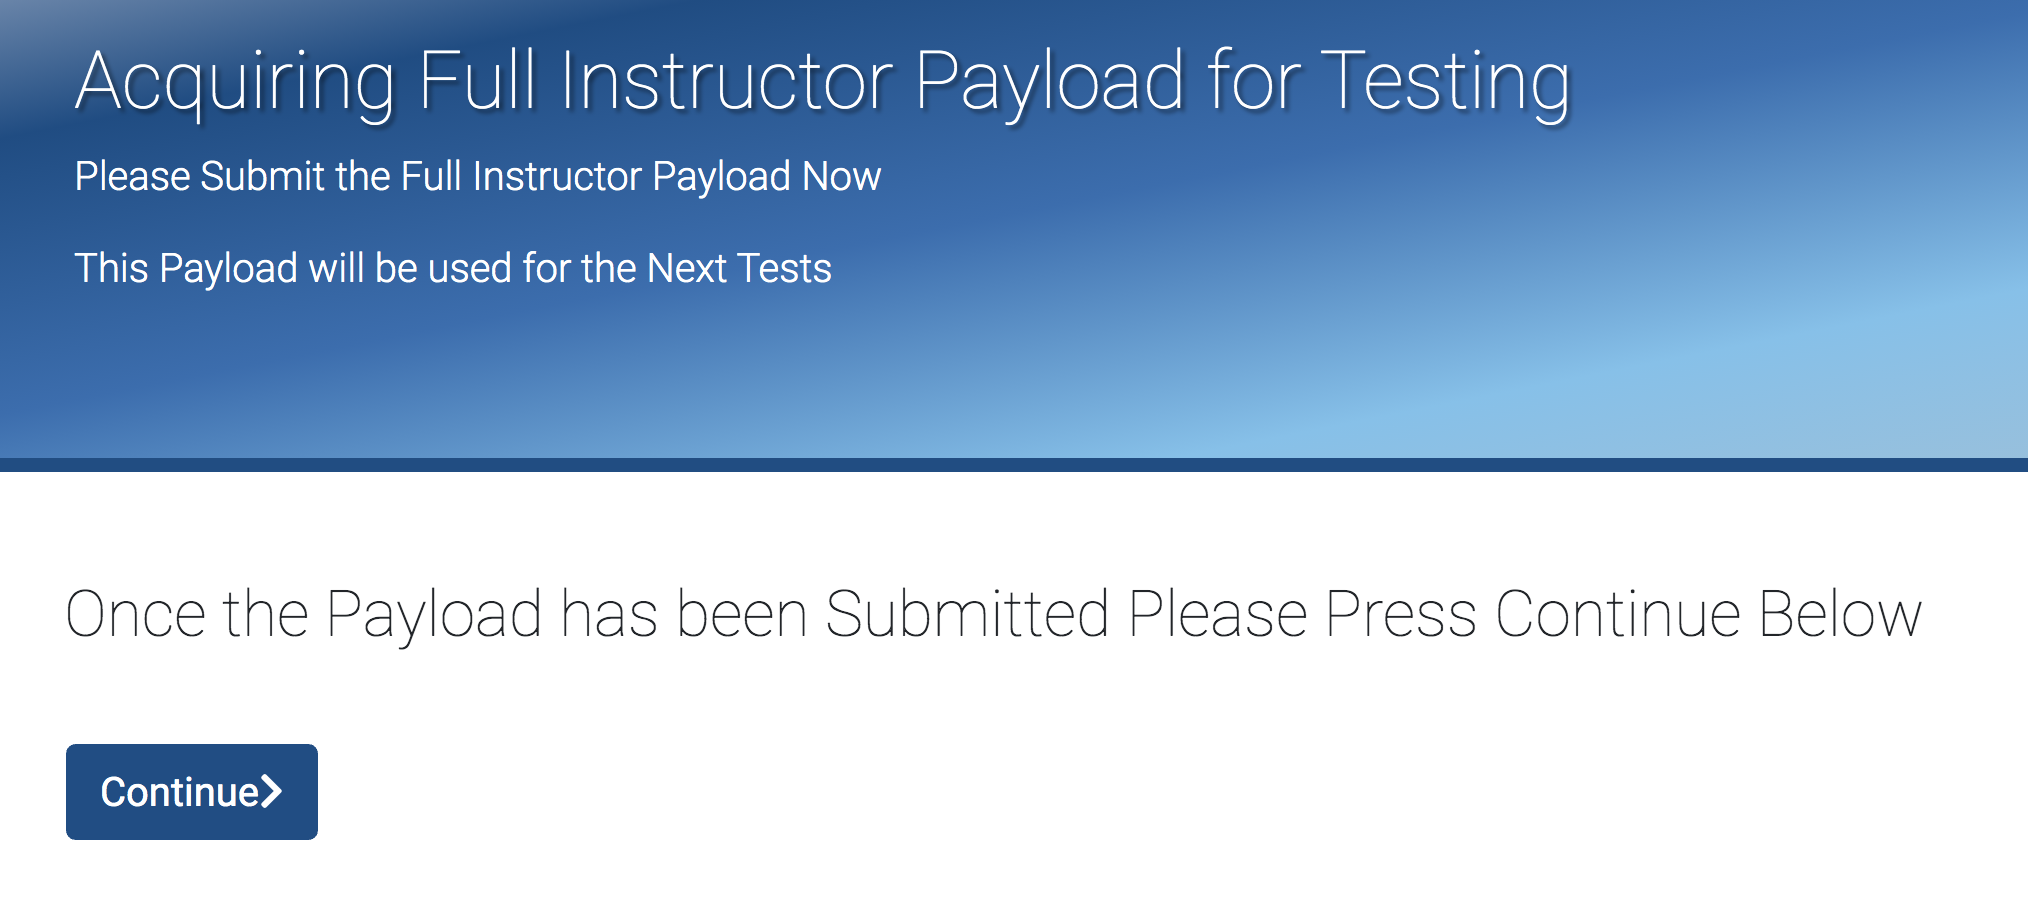
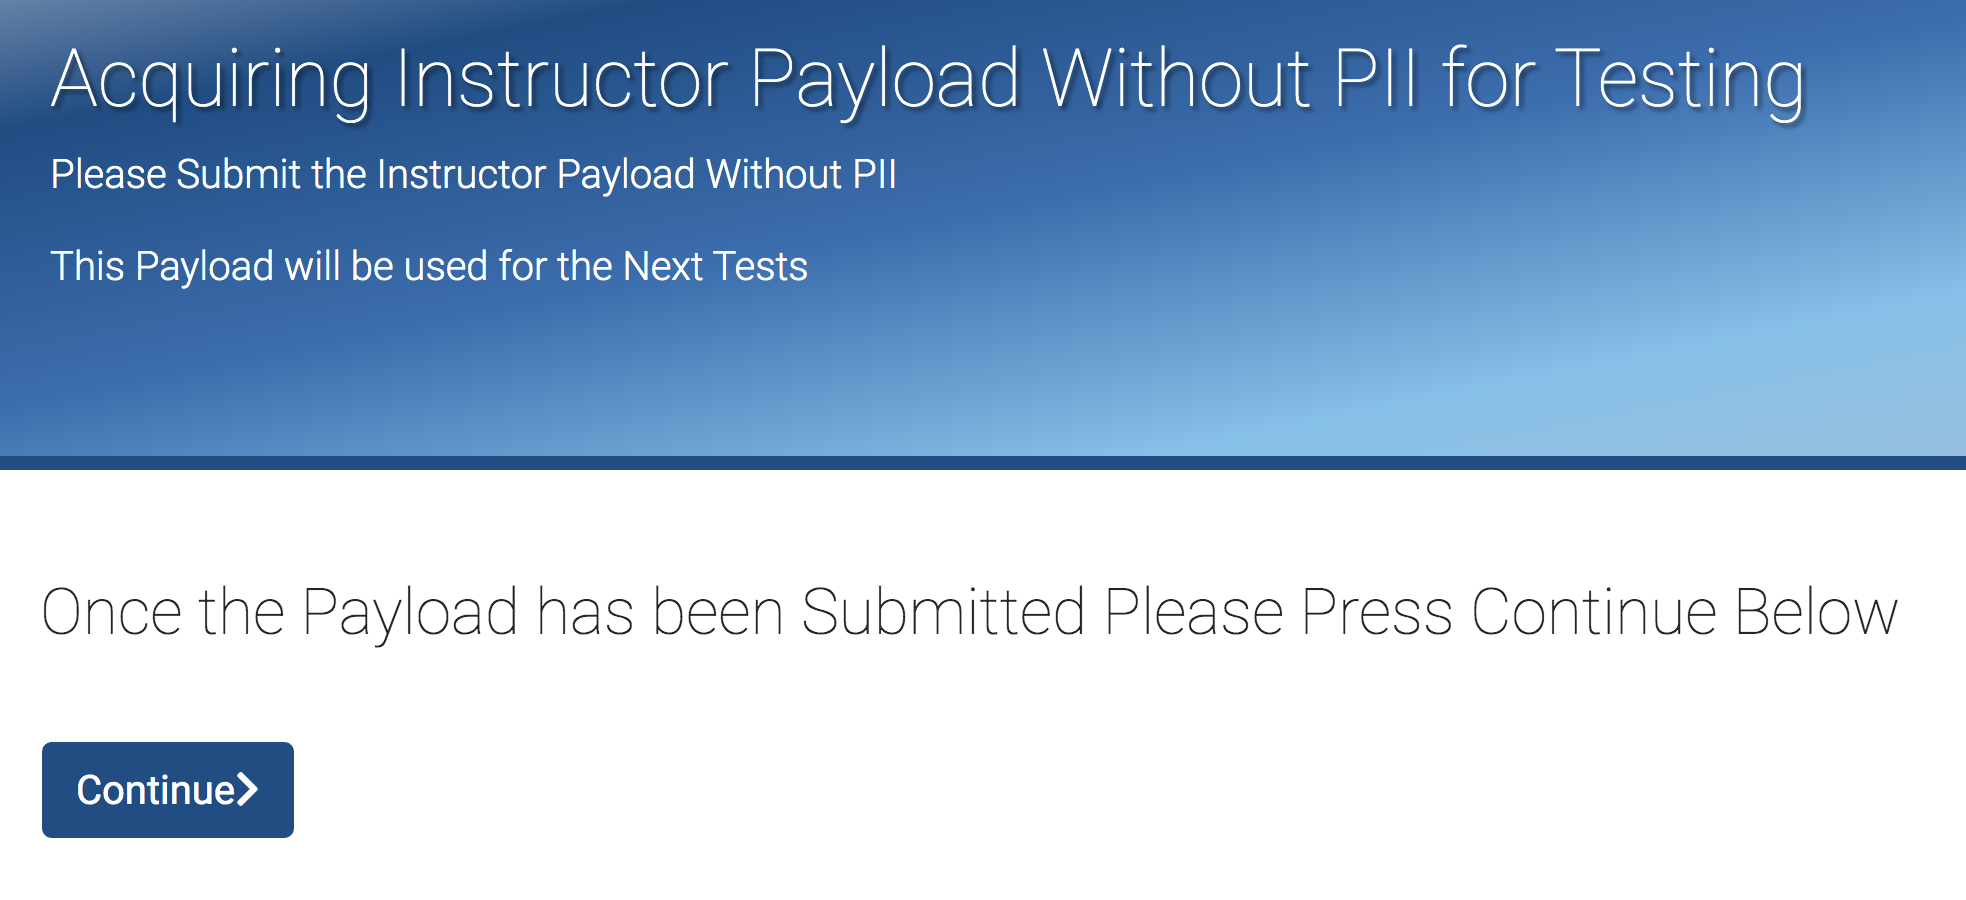
Now will have a series of screens that look like this: 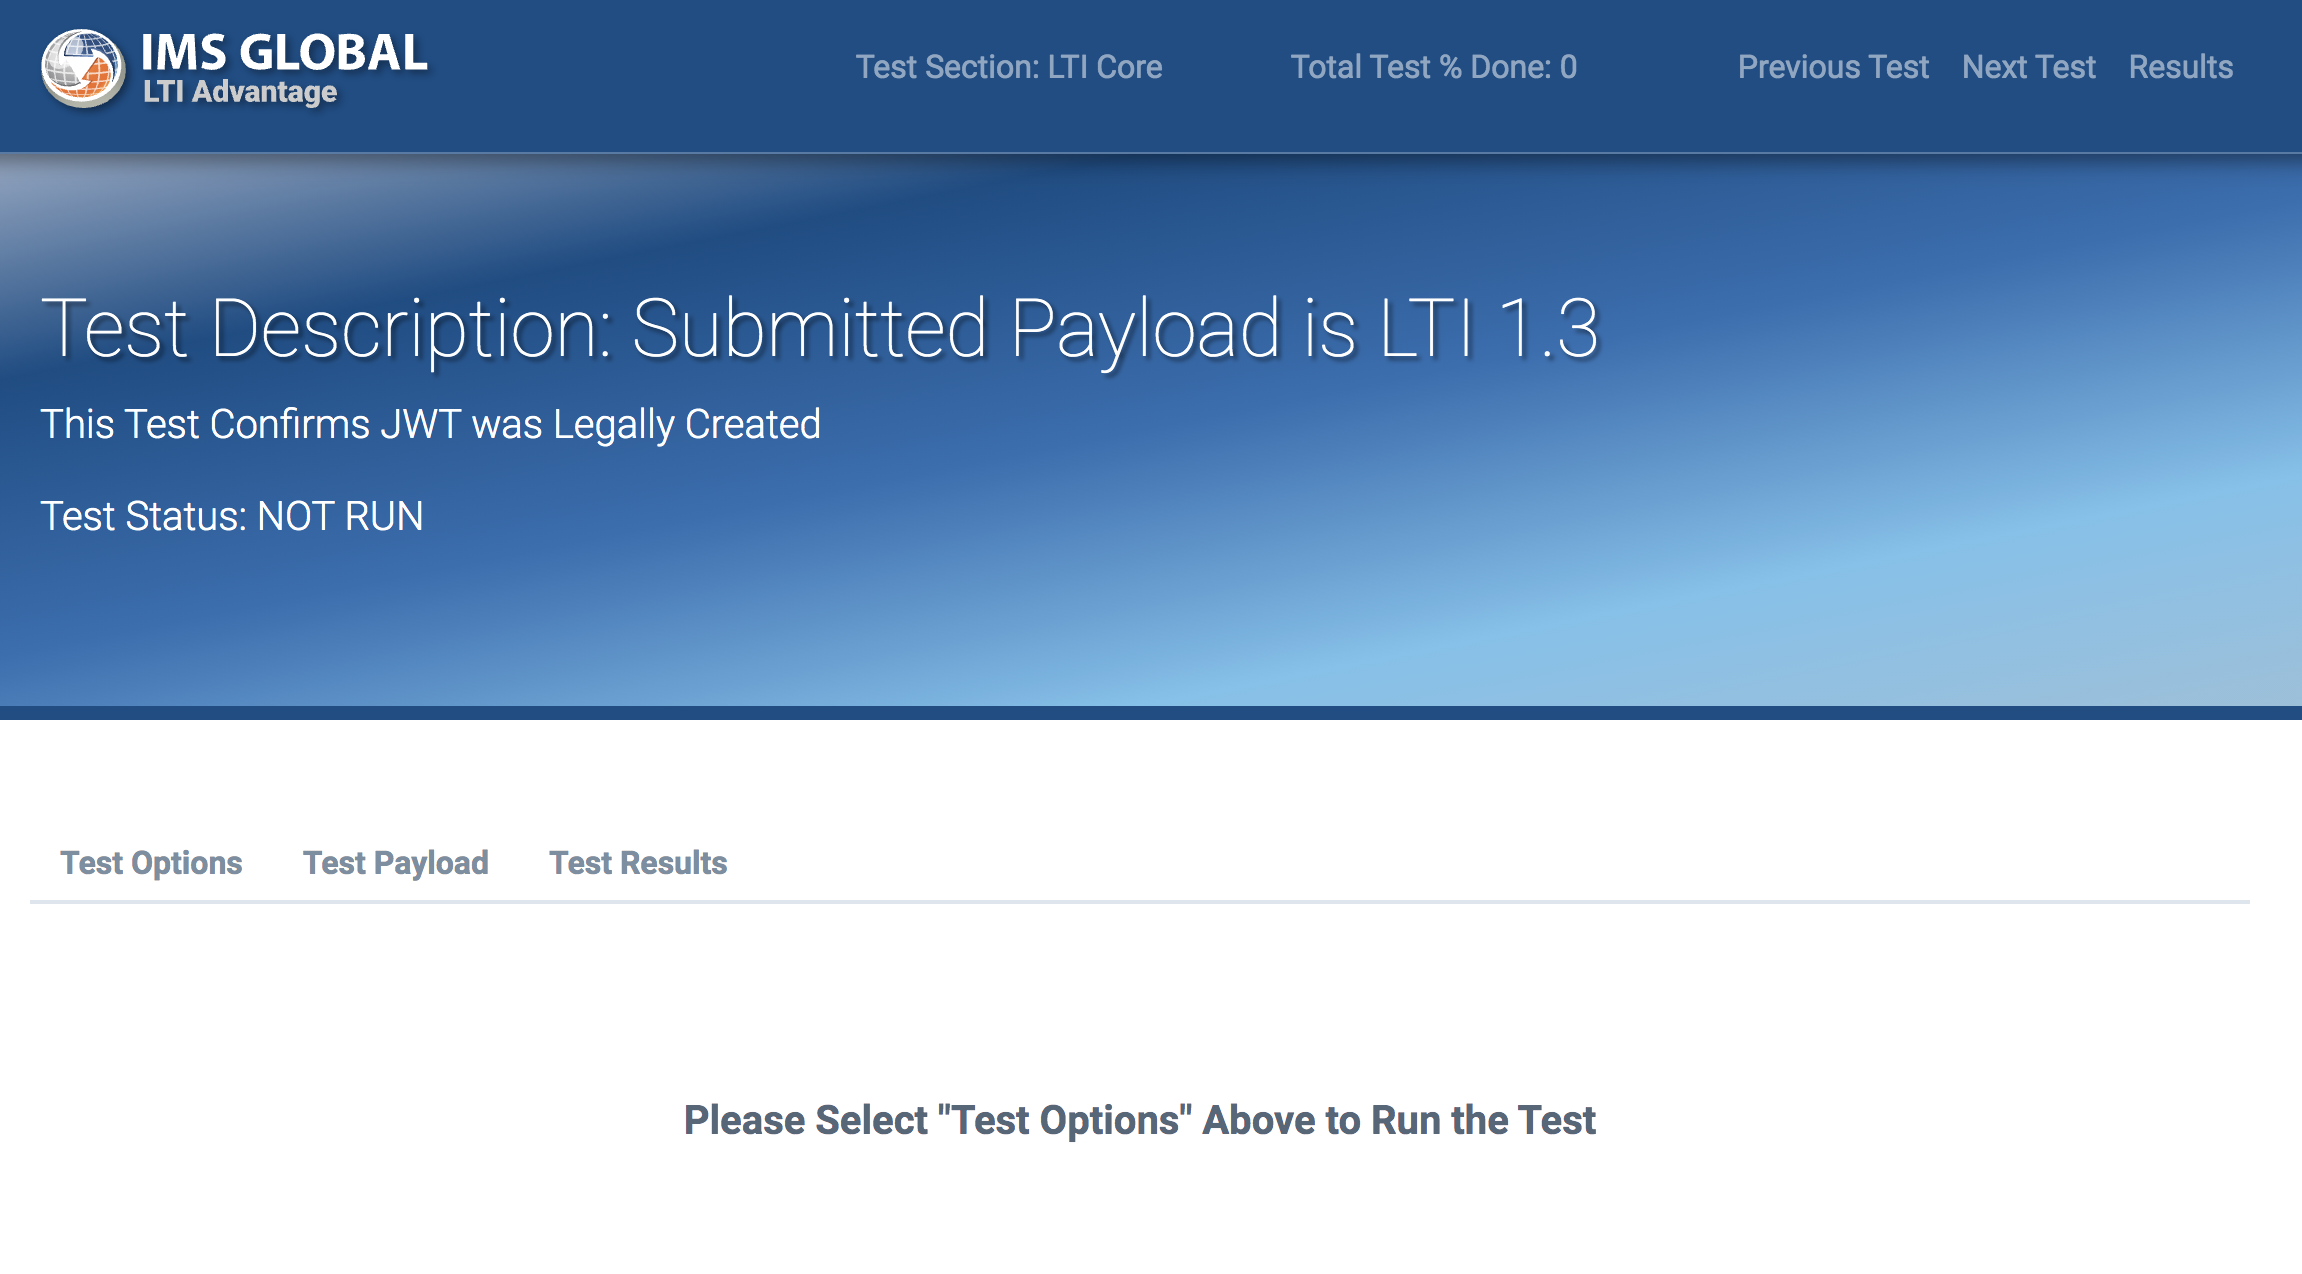 Click “Test Options” to display the options. Leave user as Student. Click “Submit Test” You should get a passing test that looks like this: 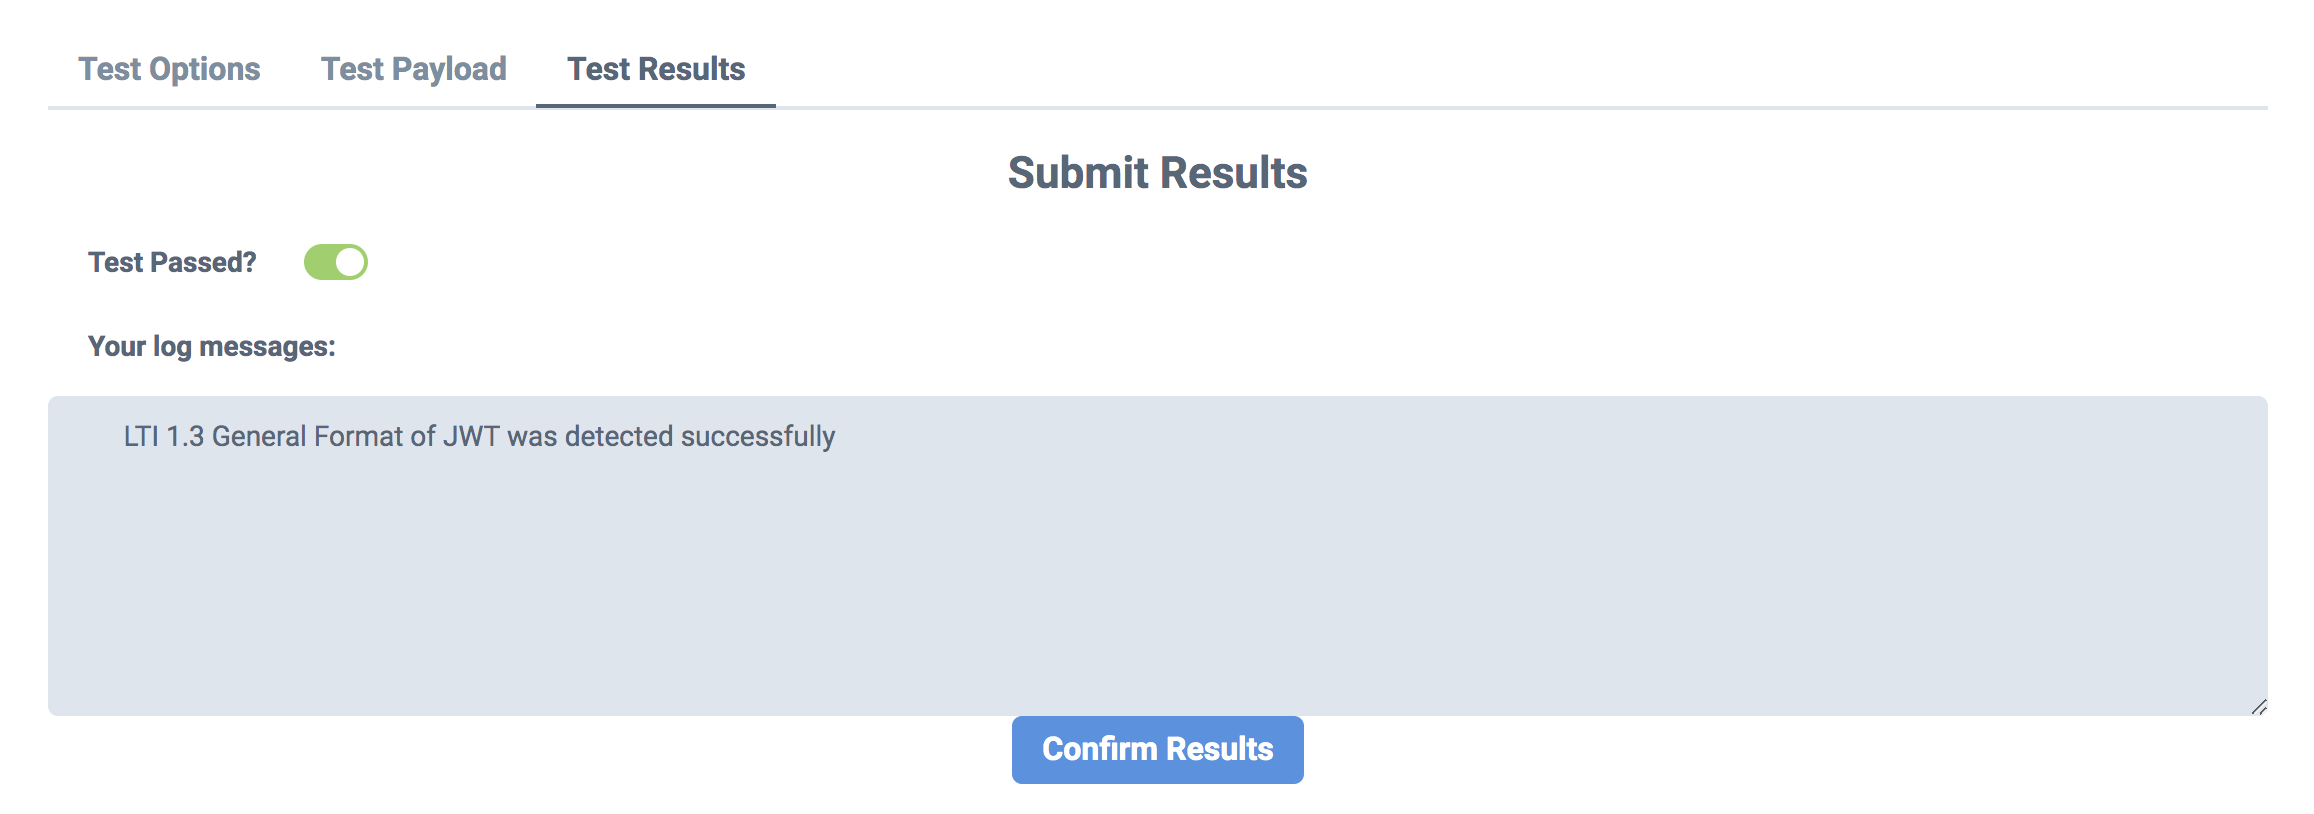 Click “Confirm Results” to record the success. Use the “Next Test” link in the header to move to the next test if it doesn’t advance automatically. There are nine different screens to get through. The JWT will expire in 5 minutes. If you get a message about the token expiring, it probably means you took longer than 5 minutes to get through the tests. | |
 | Launch the LTI component again. |
Run through the nine test screens again. | |
 | Sign out of the LMS, and log in as an instructor (staff@example.com). Launch the LTI component. |
Run through the nine test screens again. | |
 | Launch the LTI component as an instructor again. |
Run through the nine test screens again. You will be asked to do a Deep Linking launch. NOT SURE BEYOND HERE Go to Studio. Change “Deep linking” to True. For “LTI Advantage Deep Linking Launch URL”, use the “Tool OIDC Redirect Deep Linking URL” value from IMS. The tool in Studio will say “The Deep Linking configuration stored is presented below: []”.Click through the configuration screens until you get to “Acquiring Deep Linking Payload for Testing”. | Click the “Deep In Studio as staff, visit the component and click “Deep Linking Launch - Configure tool” link in Studio.tool” to do a deep linking launch. A new browser tab will open, and will flash through some pages, ending at:  |