...
SSH into a running devstack with the ecommerce service installed:
Code Block language bash $ vagrant ssh
Switch to the
ecommerceuser:Code Block language bash $ sudo su ecommerce
Activate the ecommerce virtual environment:
Code Block language bash $ source ../venvs/ecommerce/bin/activate
Build the dependencies:
Code Block language bash $ make requirements
Start the ecommerce server:
Code Block language bash $ python manage.py runserver 0.0.0.0:8002 --settings=ecommerce.settings.devstack
In a separate tab/window, SSH into the same devstack, and switch to the
edxappuser:Code Block language bash $ sudo su edxapp
Verify that the following settings in /edx/app/edxapp/
lms.env.json(the file is up one directory level to the edx-platform directory that the su command switched you to) are correct The ecommerce file that you are checking the values against is /edx/etc/ecommerce.yml. The variable name for JWT_ISSUER may be JWT_ISSUER (a single value) or JWT_ISSUERS (an array of values) depending on the application version:Code Block language js "ECOMMERCE_API_URL": "http://localhost:8002/api/v2/" "ECOMMERCE_PUBLIC_URL_ROOT": "http://localhost:8002/" "JWT_ISSUER": "http://127.0.0.1:8000/oauth2" // Must match the JWT_ISSUER setting on ecommerce "OAUTH_ENFORCE_SECURE": false "OAUTH_OIDC_ISSUER": "http://127.0.0.1:8000/oauth2"
Verify that the following settings in /edx/app/edxapp/lms.auth.json are correct - comparing against the ecommerce.yml file from the previous step:
Code Block language js "EDX_API_KEY": "replace-me" // Must match EDX_API_KEY setting on ecommerce "ECOMMERCE_API_SIGNING_KEY": "insecure-secret-key" // Must match the JWT_SECRET_KEY setting on ecommerce
Start the LMS server:
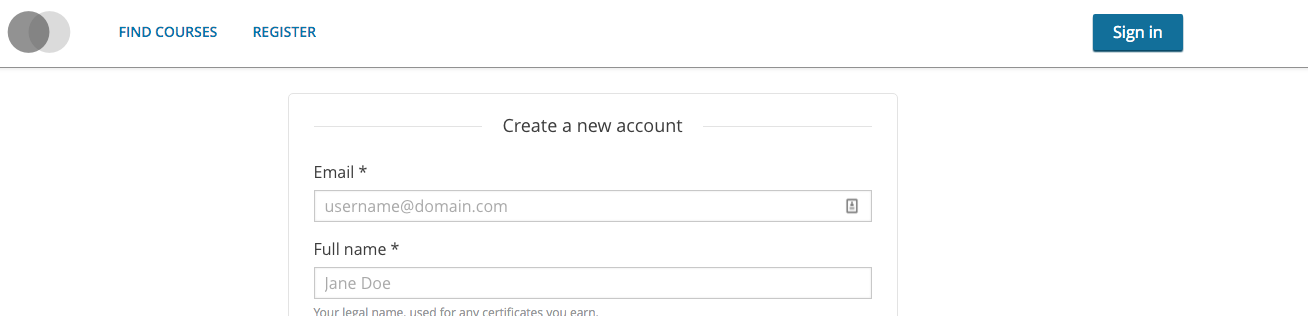
Code Block language bash $ paver devstack lms- If you haven't already, you will need to create a superuser for the lms application in Django so that you can view/update the Django admin console. You'll do this by using the interactive python shell and modifying your user account. First, create a new account in your local lms instance for your username at http://localhost:8000/register
ssh into your vagrant instance and switch to the edxapp user, once user is switched, kick off the interactive shell:
Code Block language bash $ vagrant ssh $ sudo su edxapp $ ./manage.py lms --settings aws shell
Once in the Shell, execute the following code, replacing your-user with your new user account, created above:
Code Block language py from django.contrib.auth.models import User me = User.objects.get(username="your-user") me.is_superuser = True me.is_staff = True me.is_active = True # Alternatively, you could follow the activation link in the console output (what would have been sent by email if this wasn't a dev instance) me.save() exit()
- Now that we have admin privileges, we need to find two values that will be used during the ecommerce setup process for oauthOauth. Log in to the lms instance with your account, and navigate to http://localhost:8000/admin/. Find the following section:

- Click on the 'Clients' link, and on the following page that it takes you to, click on the ecommerce client (localhost:8002):

Copy down the 'Client-id' and 'Client-secret' values:

Jump back to your vagrant ssh shell. Exit out of the edxapp user (run whoami if you aren't sure) and switch to the ecommerce user account. Source the activate environment variables into your running shell.
Code Block language bash $ whoami edxapp $ exit $ sudo su ecommerce $ source ../venvs/ecommerce/bin/activate
Using the client-id and client-secret values from above, run the 'create_or_update_site' command in the python command-line interface. The partner code is arbitrary and can be any value you like, for payment processors, choose use paypal, and for the email address, use one that you don't mind getting dev emails delivered to:
Code Block language bash $ ./manage.py create_or_update_site --site-domain localhost:8002 --lms-url-root http://localhost:8000 --partner-code edx --payment-processors paypal --client-id ecommerce-key --client-secret ecommerce-secret --from-email your-email@edx.org
Start Restart the LMS ecommerce server:
Code Block language bash $ paver devstack lms python manage.py runserver 0.0.0.0:8002 --settings=ecommerce.settings.devstack
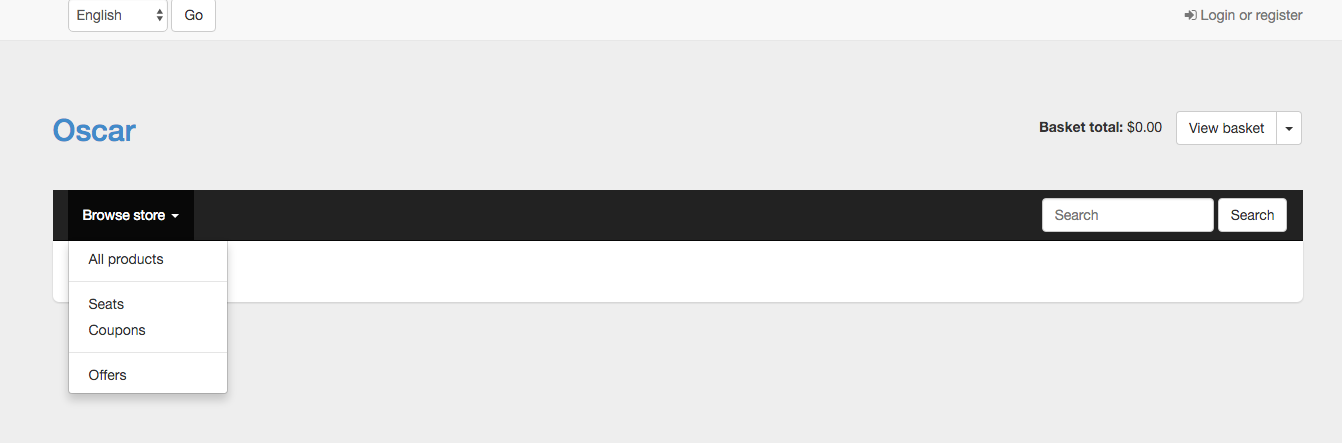
- Verify that you can both access the ecommerce server, and login (SSO redirect using LMS). Navigate to localhost:8002 and click the login link - you should be automatically logged in:
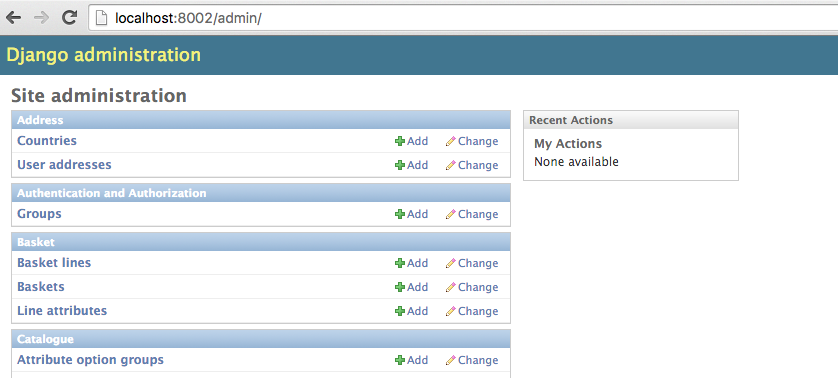
- The Oauth login from LMS should also carry over the superuser status from that account profile. Verify that you have admin rights. Navigate to localhost:8002/admin:
Both services are now up and running. If you've configured any products, they should now be fulfilled by the ecommerce service.
...